HEY THERE
Welcome to the HDR tutorial. You are at the first page of this tutorial where I will be talking about what is HDR and a bit of theory behind handling High Dynamic Range. If you are already confident about this stuff, you can skip to the processing part which begins at Page 2.
Ever since I first stumbled upon this process of photography I’ve become addicted to it. And it makes me do more and more of HDR photography. Every HDR image that I work on is a learning step for me. There are different types of softwares available that help in creating the basic HDR image. However, after trying out some different softwares and plugins, I have finally found that one plugin which helps me get the best output. Nik HDR Efex gives a lot of presets, variations, and also some easy to use sliders that help in creating HDR images that most of the time don’t require further correction in photoshop.
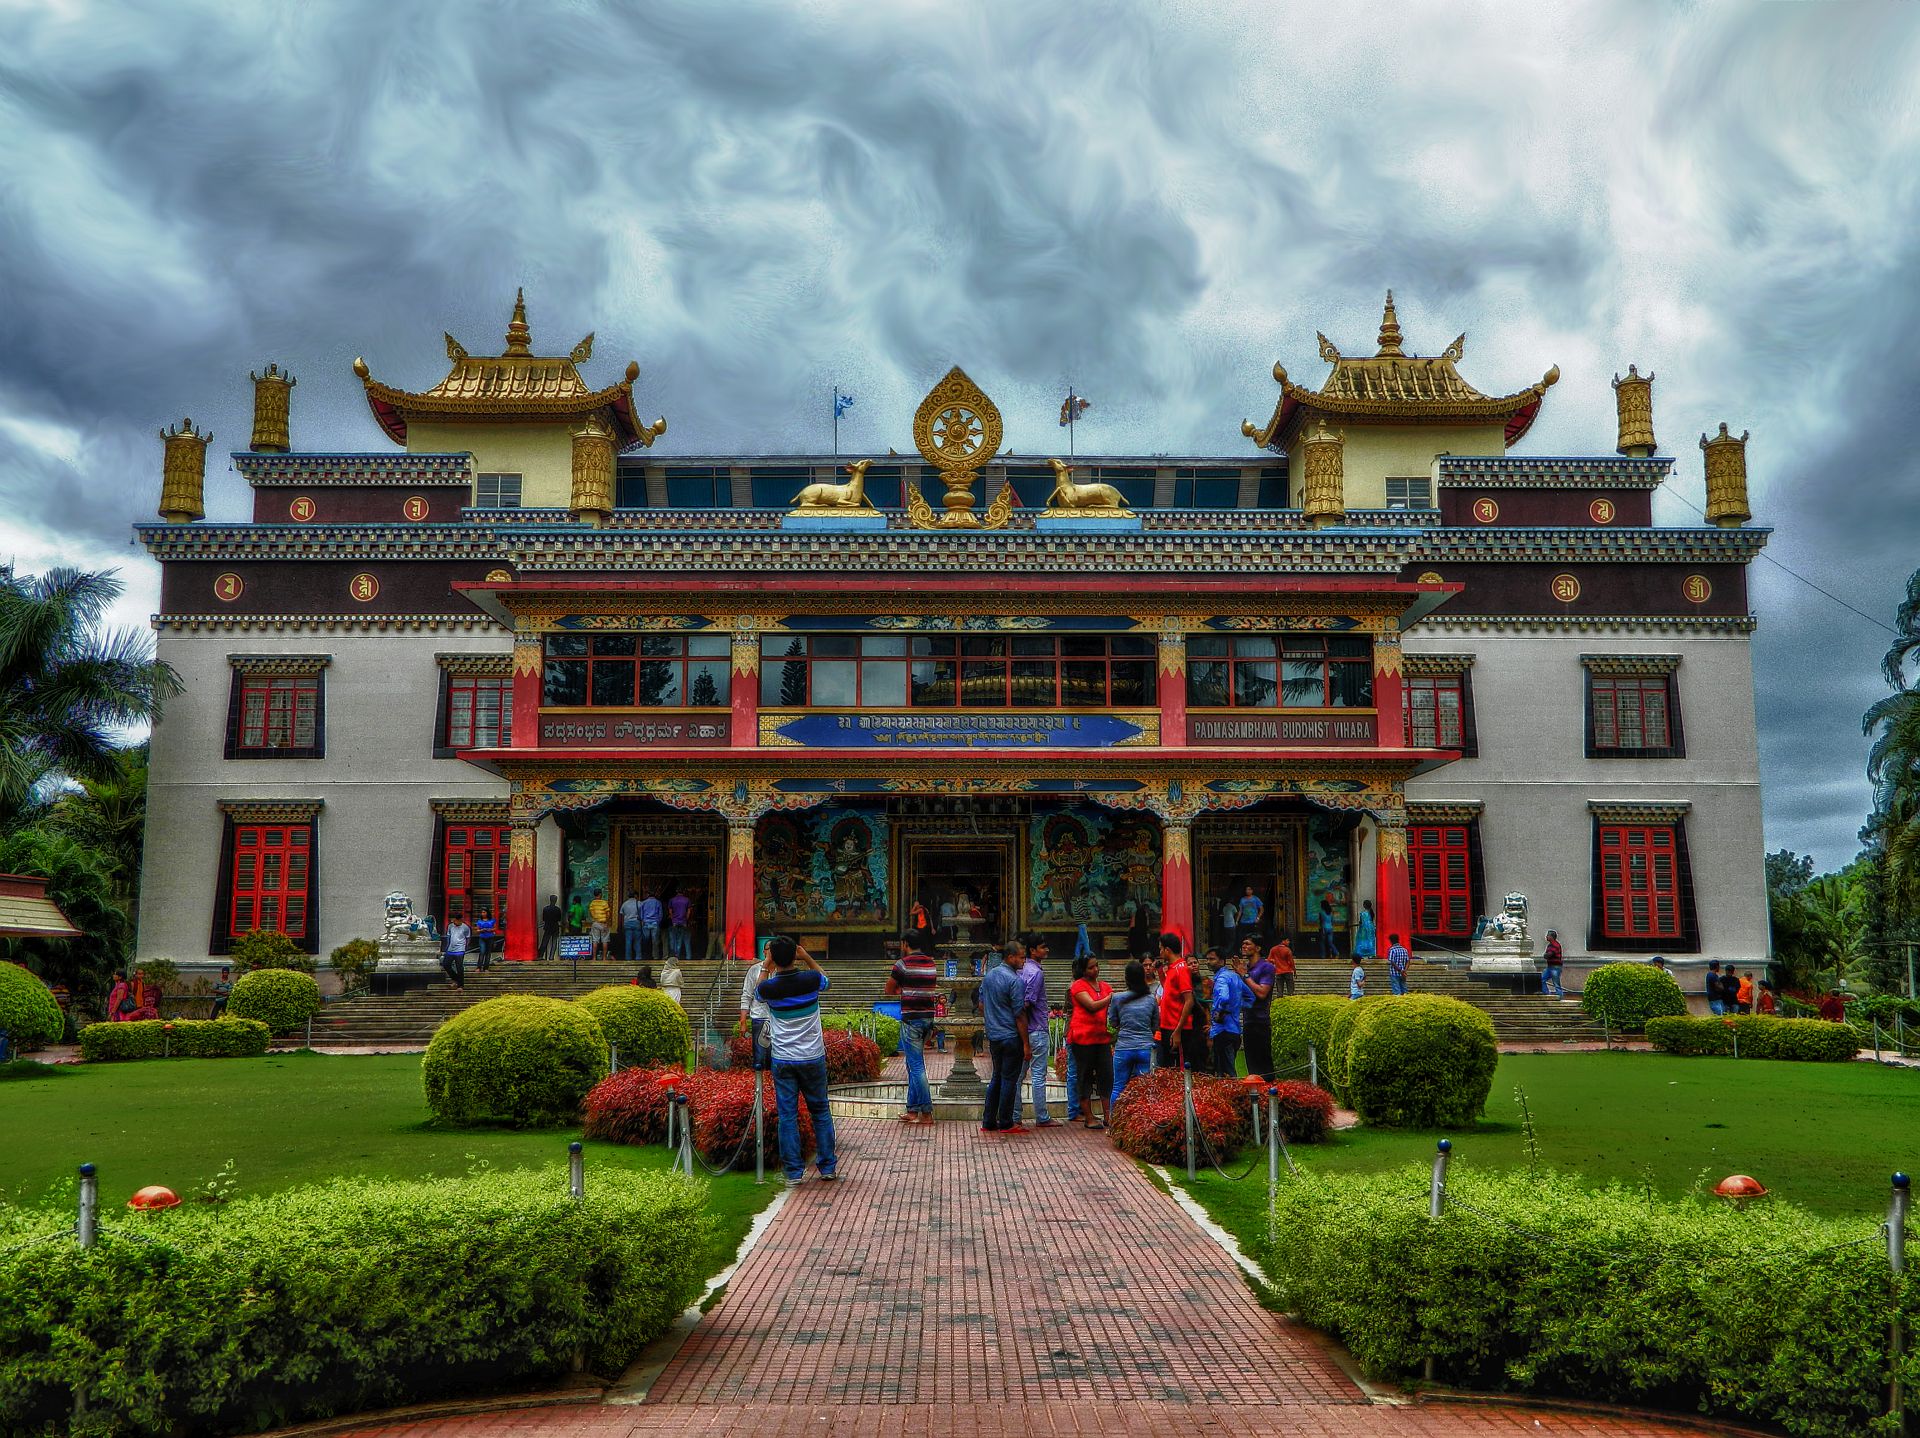
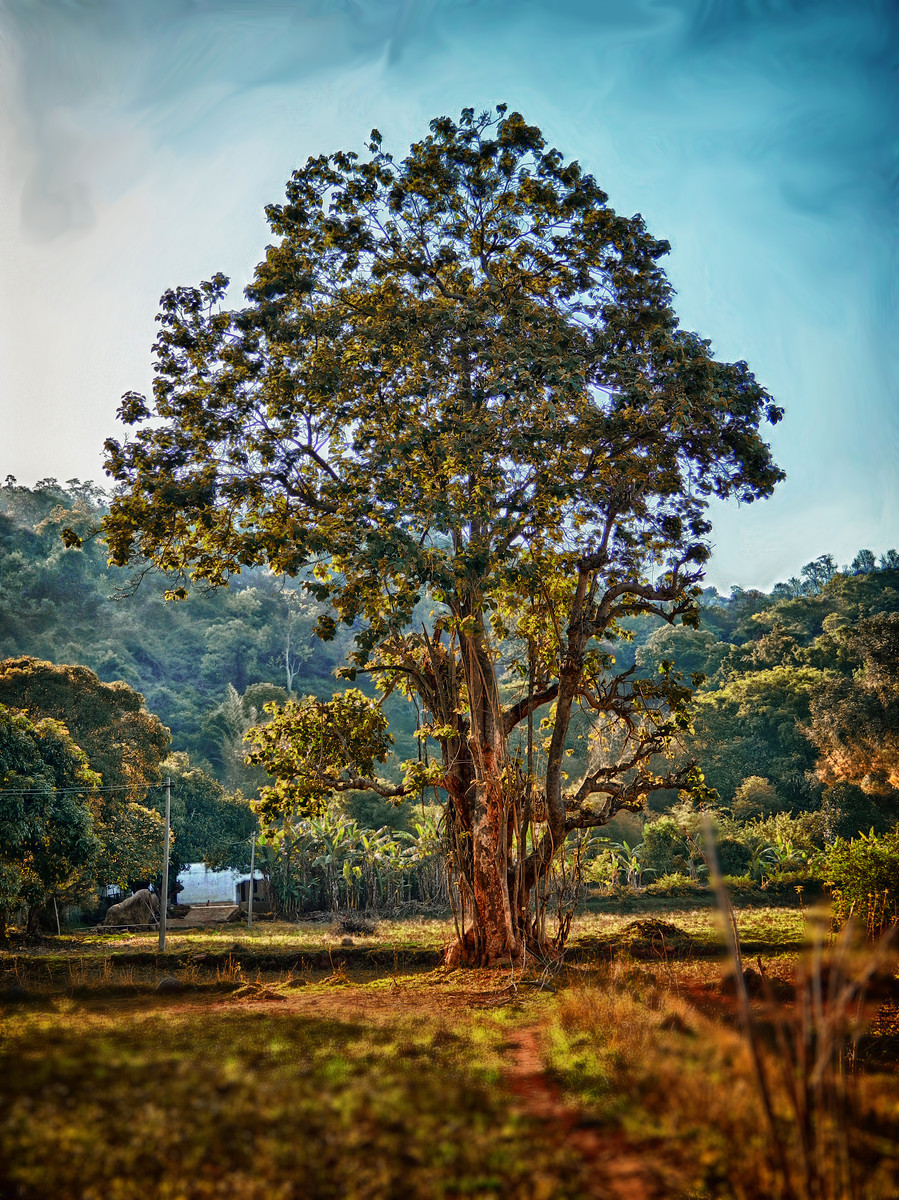
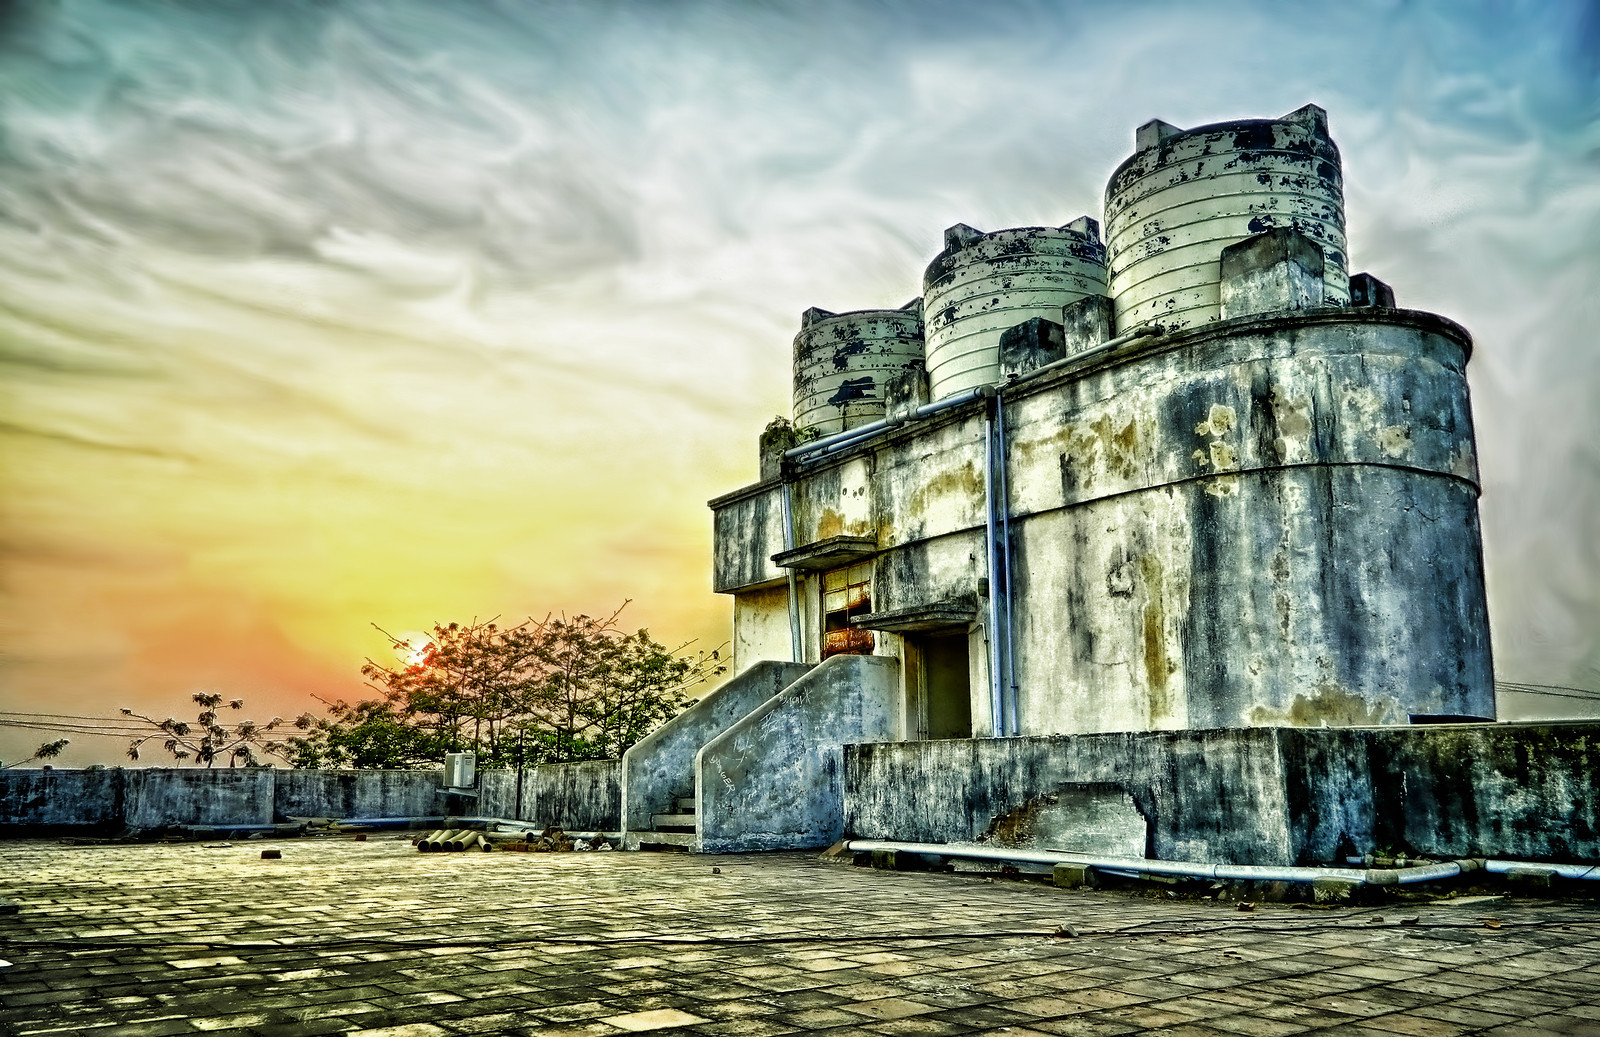
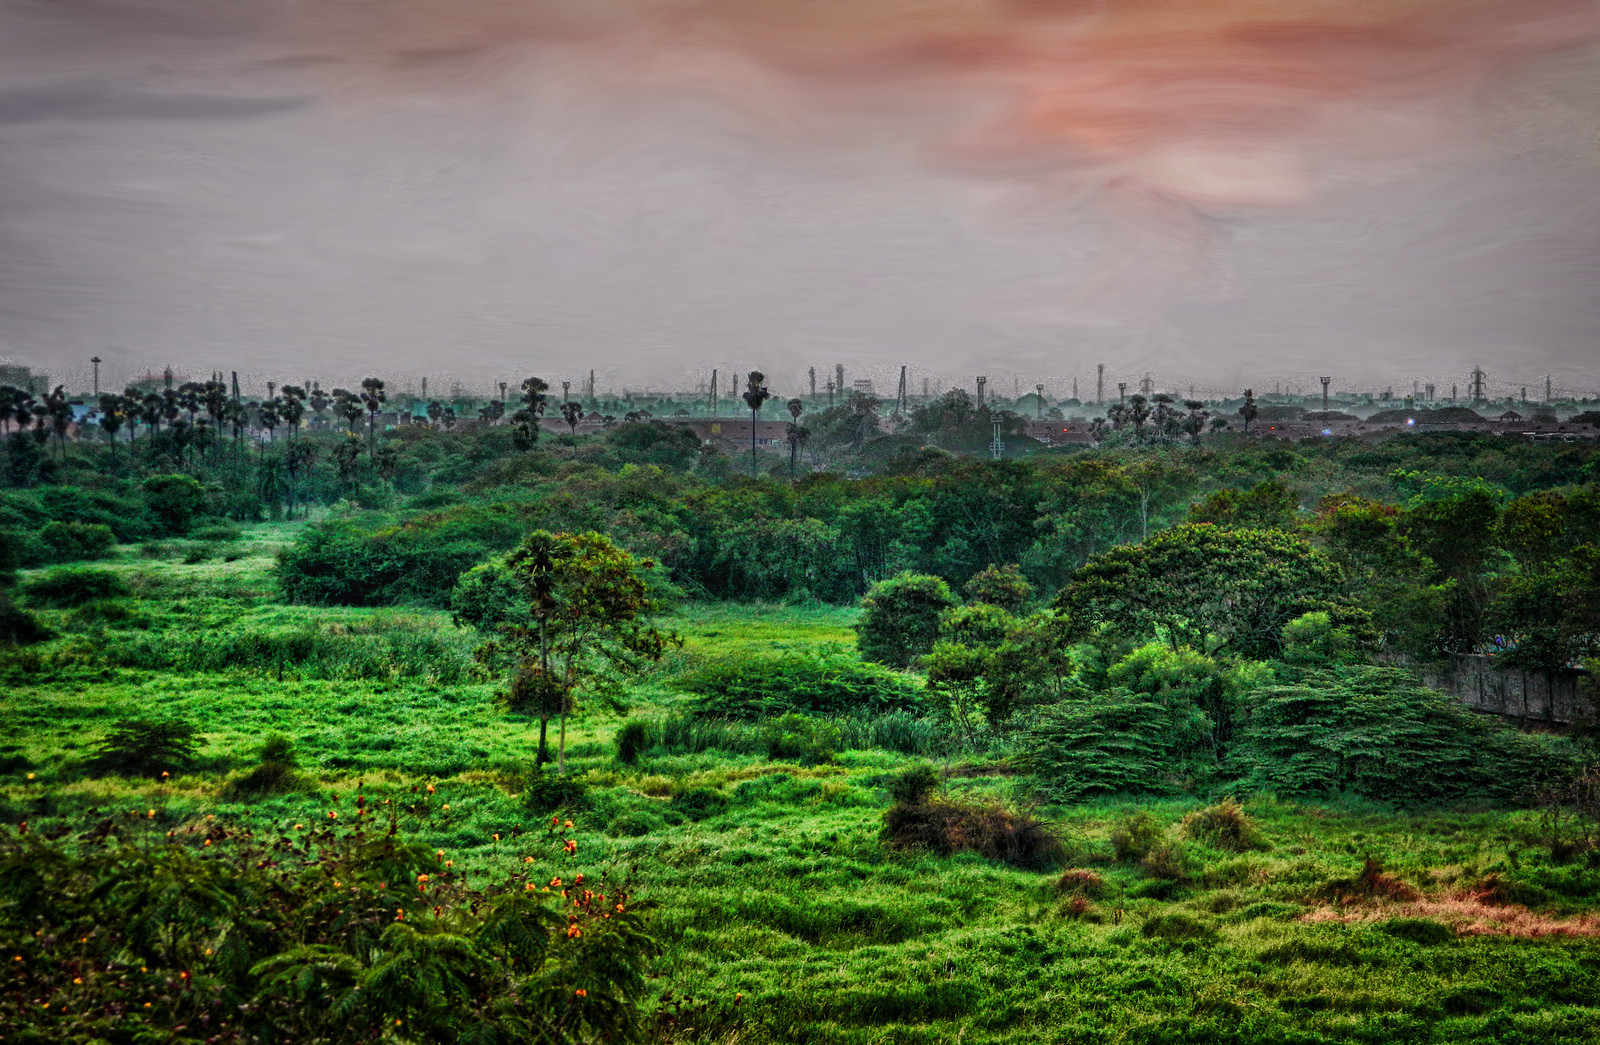
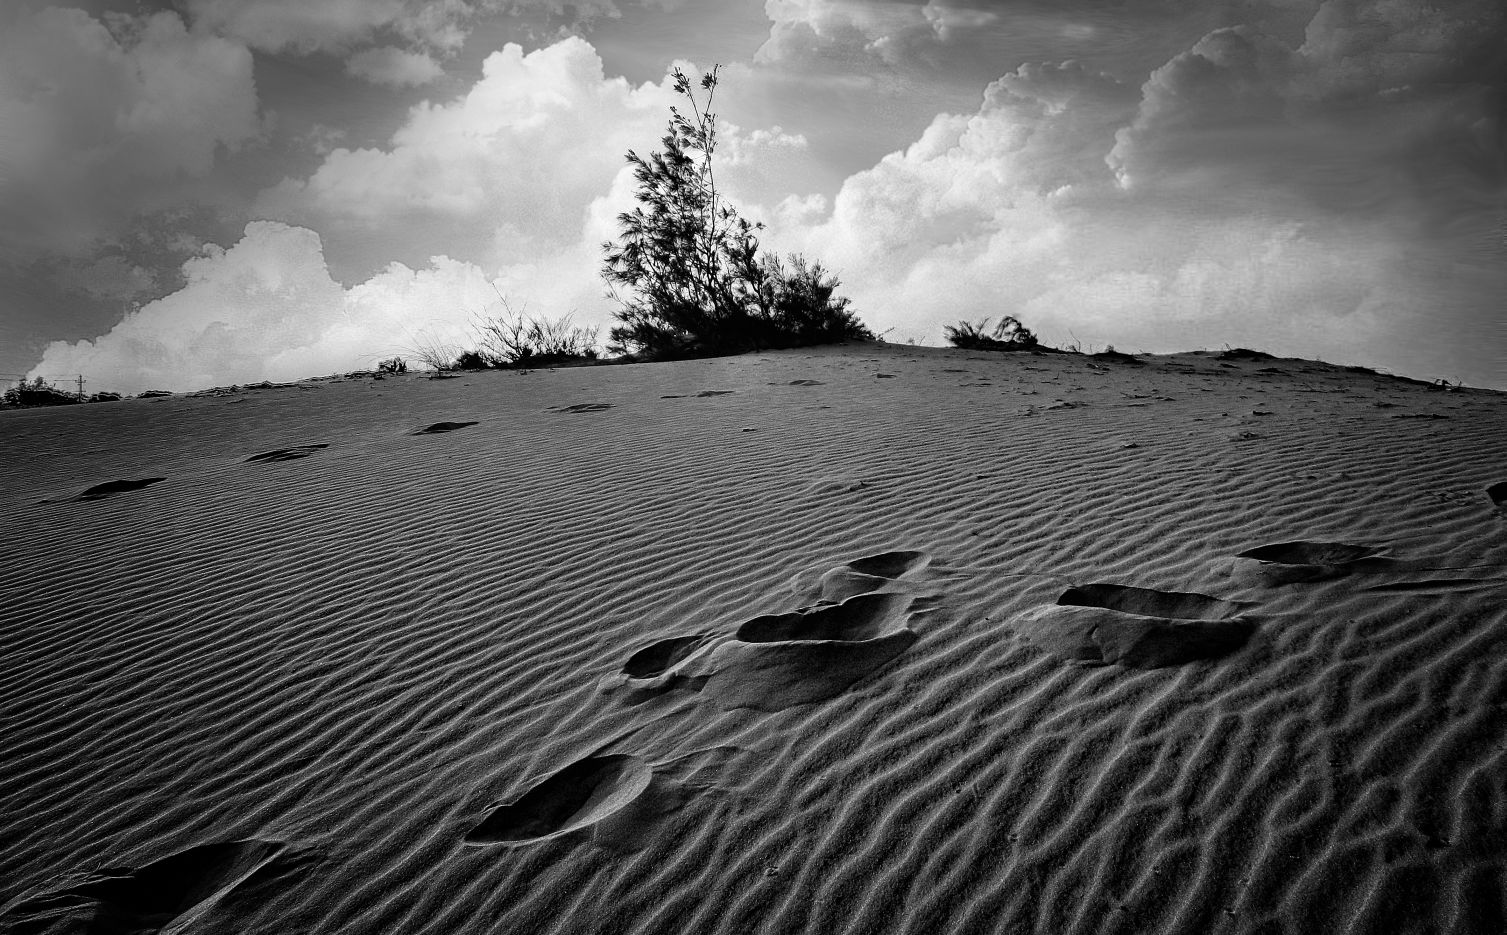
Here are some of my HDR shots. All have been done using Nikon L120, jpeg images and nik hdr efex. I additionally use Nik colour Efex and Topaz adjust for final touches.


There’s no one straight-forward method of doing HDR photography. No set of rules or a rule book that says “follow these steps an you’ll get pretty HDR pics”. Different pictures taken in different light situations require you to improvise with your processing technique.
CHOOSING THE RIGHT SUBJECT FOR HDR PROCESSING:
This plays a very important role because not everything looks good with hdr processing. Choose frames that have a High dynamic range to cover. Where the light source is such that on single exposure will give you too many shadows or too many bright spots.
Think of it this way, when you’re looking at the sun at a horizon (let’s say, a sunrise or sunset landscape), the human eye is capable of seeing every detail at it’s best but that’s not the case with a camera. A camera has only one level of exposure at a time and can properly expose only selective subjects like the sun, or the sky, or the trees depending on how you adjust the focus and the exposure in your camera. If you set your exposure to the sun, trees go dark. If you set the focus for the sky, the sun goes over exposed. And if you set your exposure to the trees, all that you will see in the BG is a bright sheet of light. This is where HDR comes in.
HDR is a process where one frame is captured at different exposure levels and only the best exposed parts of the images are combined to form one single image. That is, we get the sun, the tree, and the sky all together at the right exposures levels in one single frame.
SHOOTING THE PICTURE:
Tripod is a must. Yes, it’s very much needed to execute a hdr image. I look at a tripod as a tool for HDR and also sometimes it comes in handy around annoying people. So do use a tripod when you are executing a hdr shot. Along with the tripod if you have a remote, use that as well for fine precision.
As for camera, well there are a lot of new DSLR’s that have the auto bracketing feature. You can use them to shoot your bracket images. Both Nikon and Canon have their range of DSLR’s that have the auto bracket feature. I’m not a DSLR user though. And I definitely do not want to get into the never ending “Nikon or Canon” debate. Both brands have a slew of some amazing cameras in the market. When your are buying a camera for the first time you choose any of the two, and buy the additional accessories and equipment of that brand. That’s it. End of discussion.
All the images that you see here on my web site are shot using Nikon L120. Life’s been much more awesome for me in terms of photography since I got this camera. And a very few images are shot using my sony ericsson C510. I’m not doing much of shooting with my mobile phone now. I carry my back pack almost everywhere i go. And my back pack always carries my nikon l120. When even i come across something interesting i stop, take my camera out and start walking towards it to do my thing. Ok… so lets come back to HDR.
Mount your camera on the tripod and set the frame that you are going to click. You don’t have to worry much about exif settings with HDR, atleast I don’t. All you need to check is the exposure level. I usually click for HDR at 5 different exposure levels, -2,-1,0,1,2 ev. These are called bracket images. Do not change the position of your camera or the tripod untill you’ve taken all the 5 shots (this is where the tripod comes in). If not all you’ll have in your HDR images are ghosts every where, and I’m sure no one wants that.
TOOLS:
Once you’re done shooting your images load them out in your computer and have the following tools ready to begin working on your hdr image.
Nik HDR Efex (Must): I’ve tried a lot of softwares. Just google for them and you’ll find tons. The one that i use the most is Nik HDR efex. This is one software that tries to minimize noise such as ghosts, chromatic aberrations in the generated image to the maximum best possible. It’s a photoshop plugin that you can find it as a part of the package in the Nik software collection or buy it alone from the Nik HDR Efex link.
Adobe Photoshop (Must): The HDR image generated will contain a little or a lot of noise. The layer masking technique in photosop is helpful to remove the noise. Layer mask the HDR image and the original bracket shots to remove the noise from the HDR image. Also this is the primary software. All the rest are just plugins. They will not work with out photoshop. I have CS5 at the moment.
Nik color efex (Optional): I use this to give finishing touches to my HDR image. This software contains 1000’s of filters that you can use on HDR or even your normal single images. Too many options can make one get a brain freeze but if you’re like me, you’ll feel like a chef in a kitchen who’s trying to invent something new and unique with different spices, vegetables and other stuff given to him. Like the other nik plugins you can find this one too separately in the Nik Software collection.
Nik silver efex (Optional): Normally i do not go for grey scale conversion in HDR. But for some special images, this might come in handy. Like the other nik plugins you can find this one too separately in the Nik Software collection. I also have a separate tutorial for black and white processing.
Topaz Adjust (Optional, but do use it, it’s awesome): I use this to add a little special finishing touch to my HDR images. Does not work on all of them though. You can find it here.
Now that we have the tools and the images ready lets load them up and proceed to processing them.

Thanks for the tutorial, your pictures are amazing. 😀